Home | Installation | Basic | Lettering | Digitizing | Name Tags | Edit Mode | Automatic Computer Embroidery |
Digitizing
Digitizing embroidery requires specialized software skills . However, with practice and attention to detail, it becomes easier to create an embroidery designs. In this chapter you learn about the diffrent main stitch types and how to digitize a picture.
Different Types of Embroidery Stitches
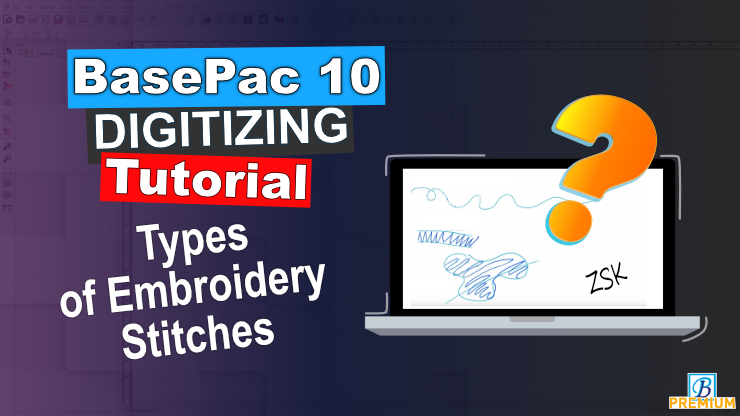
In this introductory video, we'll cover the basics of embroidery, explore the main stitch types, and get acquainted with the BasePac interface.
In this video, you'll learn:
- The three main stitch types: running stitch, satin stitch, and tatami (fill) stitch.
- How to navigate the BasePac software and find different stitch options.
- Tips for setting up your project and understanding the key tools in BasePac.
We'll start by examining the fundamental stitch types and how they are used in embroidery. From there, we'll dive into the BasePac software to see where you can find and apply these stitches. Whether you're a beginner or looking to refine your skills, this tutorial is designed to help you get started with digitizing in BasePac.
 Workbook page 13-15
Running Stitch
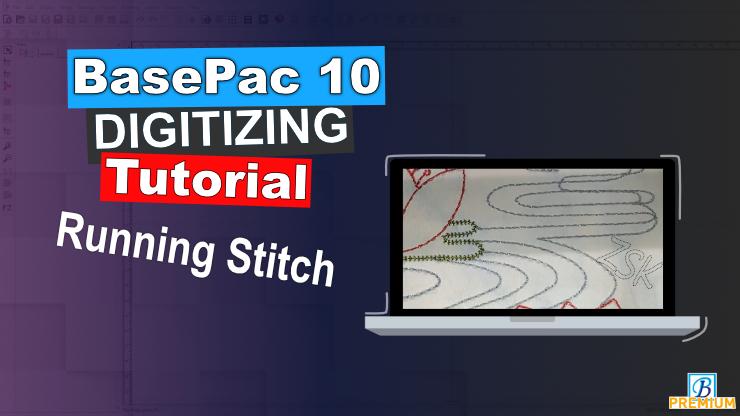
Whether you're a beginner or looking to refine your skills, this tutorial covers everything you need to set up and create stunning designs with the running stitch.
In this video, you will learn:
- Variations of the running stitch for different materials and designs.
- Basic software operations, including color changes and stitch programming.
- Tips for planning your design to avoid confusion and ensure seamless stitching.
- Step-by-step manual stitching techniques and automatic running stitch programming.
- How to edit and tidy up your design for a professional finish.
- Advanced settings and parameters to optimize your stitch length and density.
- Exporting your design for machine embroidery.
Follow along to create your first design.
 Workbook page 16; 20
Satin Stitch
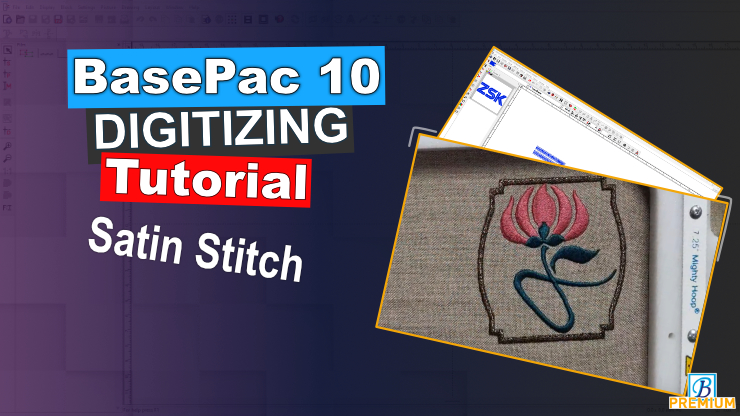
In this episode, you´ll learn how to create a satin stitch design.
What You’ll Learn:
- Basics of satin stitch and its applications.
- Choosing the right stitch type based on the size of the object.
- Importing and setting up designs from a JPEG file.
- Creating manual fixing stitches.
- Using automatic programs for different stitch strategies.
- Adjusting stitch parameters for optimal results.
- Implementing stitch direction and division to enhance the design.
- Practical examples with flowers and other patterns.
Whether you're a beginner or looking to refine your skills, this tutorial is packed with practical tips and insights to help you master satin stitch digitizing.
 Workbook page 17-18; 7 (Picture)
Fill Stitch
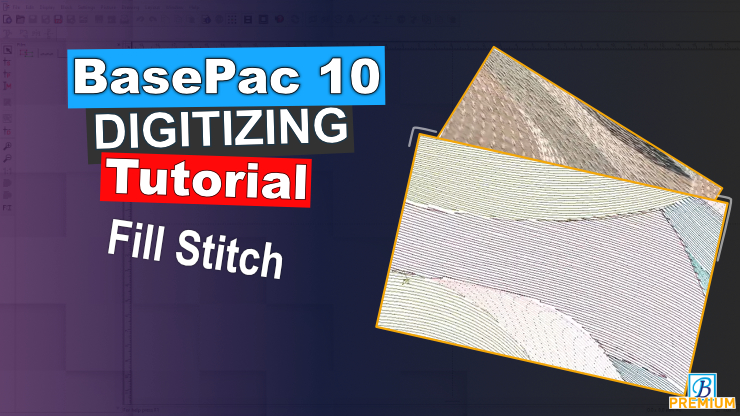
This video is an introduction on how to create a fill stitch with the BasePac digitizing software. It also explains what this stitch type is used for and it also shows some possible variations along many others.
In this tutorial, we’ll cover:
- Loading and setting up your design in BasePac.
- An overview of the fill stitch program and its applications.
- Step-by-step instructions on creating simple shapes with fill stitches.
- How to adjust fill stitch parameters such as stitch length, rhythm, and density.
- Using the auto contour feature for precise stitch direction.
- Tips on using macros to enhance your designs.
- Practical examples to demonstrate different fill stitch effects.
We’ll also discuss how to save your settings for future projects and the importance of testing your designs on the machine to avoid pulling and other issues.
 Workbook page 19
Contact
You are ready with your exercise file, or you have any further questions? Contact us at software@zsk.de
Please note: Our team processes your requests from Monday to Friday, we will take care of your questions as fast as possible.
Also check our FAQ page, you might already find the answer to your question here.


