When Textiles Glow – Automating LED Integration
Bringing light into fabric used to mean compromise between the demands of electronics and the softness of textiles. Today, integration is smooth and scalable – with conductive threads, precise machine control, and specially developed LED sequins. What once needed soldering is now embroidered.
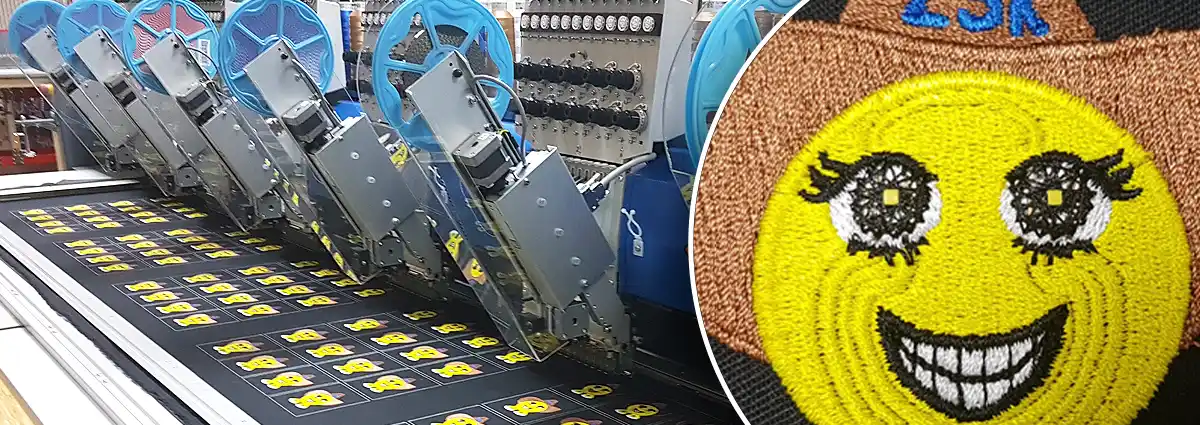
From Thread to Function: Light Directly from the Embroidery Machine
How do you reliably and flexibly connect electronics to fabric? The answer lies in embroidery. The ZSK LED Sequin Device – the core of the integration – can be retrofitted to any ZSK F-head embroidery machine. It enables fully automated placement of functional sequins such as LEDs, RFID chips, and more.
At the same time, conductive threads are embroidered to establish reliable electrical contact.
The result: flat, stretchable, and washable smart textiles – ideal for fashion, healthcare, sportswear, and design.
In Action: LED Integration via Embroidery Machine
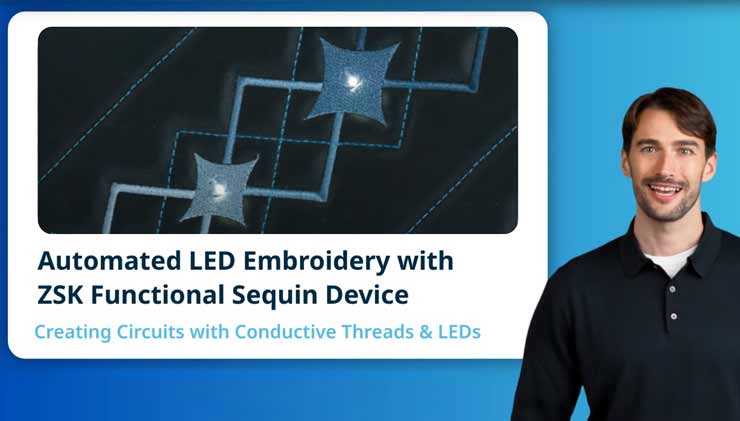
How can electronics be integrated into textiles fully automatically?
Our video guides you through the LED embroidery process step by step:
- How conductive threads create embroidered electrical circuits
- How LED sequins are automatically placed and secured
- Best practices for electrical performance, durability and stretchability
- How to scale production with ZSK multi-head embroidery machines
Materials Meet Method: What Powers the Process
- Conductive Yarn Starter Kit – for flexible, reliable electrical paths (e.g. by Amann or Madeira).
- ZSK LED Sequins – small flexible PCBs with SMD LEDs, developed for embroidery integration.
- ZSK LED Sequin Device – an embroidery head attachment for precise automated placement of functional components.
Shining Examples from the Video
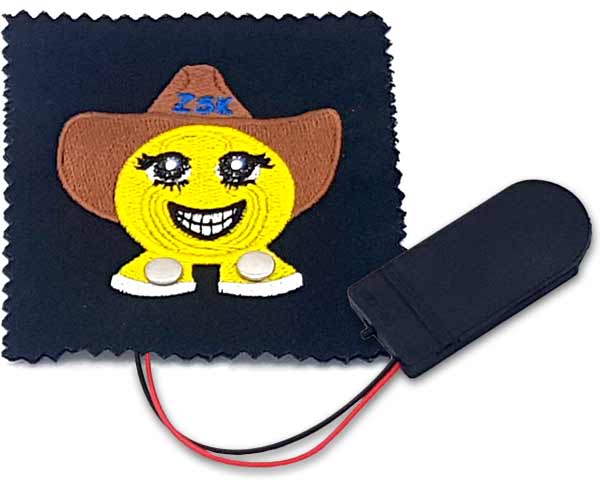
The ZSK "Enlightened Smiley" shows how LEDs can be integrated seamlessly into embroidery design.
Two LED sequins, one battery holder, a few decorative stitches – and your smart textile is ready.
→ Order the Smiley Demonstrator
Also featured: the interactive ZSK Memory Game with touch sensors and LED sequences – ideal for showcasing textile-based interfaces.
And the technical highlight: the "Pinch Me" Demonstrator with stitched control areas and two embedded PCBs – created on a ZSK machine with the PCB Placement Device.
Want to Start Your Own Project?
In the Workshop “Integrating LEDs and Control Elements into Textiles”, 3E Smart Solutions shows how design concepts become functional textile systems.
Participants learn how to place, power, and protect textile electronics – directly on the machine and hands-on.
- Dimensioning textile circuits and defining power requirements
- Placement strategies for LED sequins and electronic components
- Best practices for stitching conductive paths
- Techniques for protecting and insulating textile electronics

Need Advice?
From demonstrators to development support or production planning – 3E Smart Solutions supports you from the first prototype to a production-ready solution. Together, we create smart textile products that light up, sense, or respond.