Very small and detailed embroidery
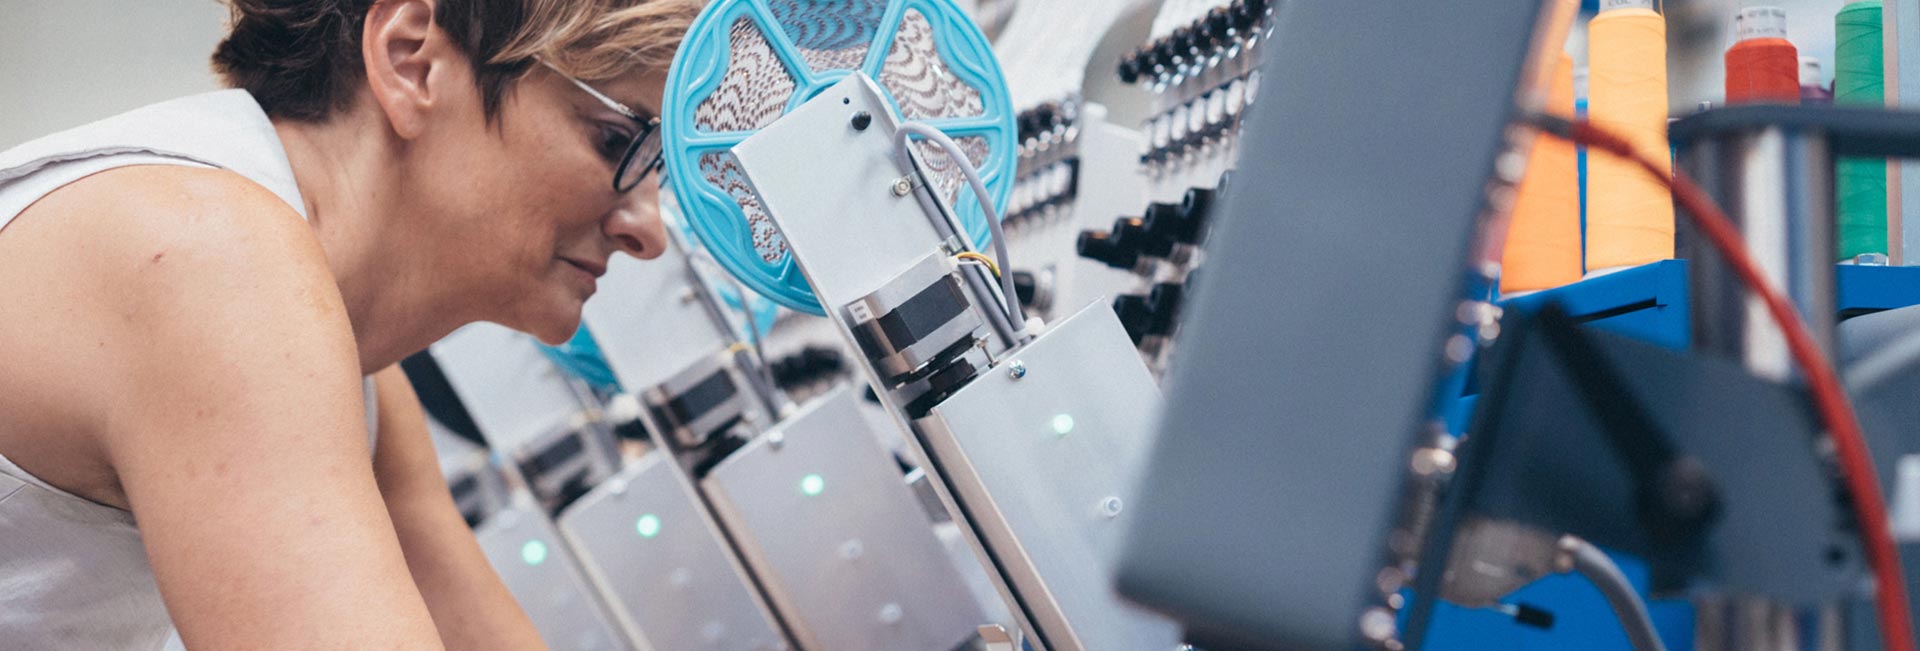
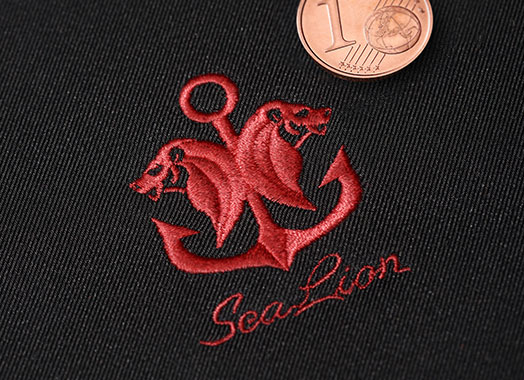
Over the last few years, I have been working on very small embroidery designs. What seemed impossible to me in the 1980s and 1990s is now becoming possible. This is because thread companies like AMANN have produced very thin threads, which makes it possible to realize very small and detailed embroidery. There seems to be hidden completion in the industry amongst manufactures of all branches, who can produce on an embroidery machine the smallest letters or detailed designs to spark the interest of customers. The results of this effort have been very impressive including letters 1mm tall and button size embroideries with super small detail. As interesting and nice all this is, there are critics who say this is not reality; the fabric used in demos is one where every embroidered design looks great. Alternatively, how will this thread, with such small stitches and thinness perform under production conditions? The reality check!
1. Consider the Fabric Type
When evaluating which types of fabric provide the best surface for small or highly detailed embroidery designs, consider the following options:
- Woven fabrics typically used for workwear, shirts, or lightweight materials for backpacks and jackets
- Badge materials for emblems and patches
- Denim
- Softshell
2. Design Size
The size of the design is primarily the key factor when selecting the appropriate thread weight.
3. The Design Type
A compressed design in which the elements are positioned far apart, fine thin details, typography, fonts, block letters, serifs, or characters with thick and thin strokes — these are just a few examples. Review the three points mentioned above before you begin digitizing the design. This will help you choose the correct thread weight and determine the adjustments needed to make the design suitable for embroidery. Below you will find an overview of AMANN’s Serafil product line.
The finer the thread, the more stitches are required. Therefore, consider which thread weight provides the optimal coverage without sacrificing too many details. In many cases, this would be Serafil label No. 60. If you notice that the details are not sufficiently defined, the next option is Serafil Fine, label No. 75. For both of these thread weights, the width of the satin stitch should be at least 1 mm to achieve high-quality results.
Serafil Extra Fine, label No. 100, is perfect for producing ultra-fine embroidery details — the emphasis being on ultra-fine. With this thread weight, you can create satin stitches narrower than 1 mm or running stitches forming small integrated design elements.
There are no strict limitations or rules that dictate which thread weight must be used for a particular design or design size. This article is intended solely as a guide to support your decisions. You will determine for yourself what works — and what doesn’t — for your embroidery project. As with most things in embroidery, the beginning involves trial and error until you develop a feel for it. Every embroidery project presents a new challenge.
Some tips for digitizing with exceptionally fine thread weights.

Serafil fine ist eine von AMANN. hergestellte Garnserie. Es gibt drei Garnstärken, aus denen Sie wählen können:
- 100% Polyester Multifilament
- Farbpalette: 100
- Eticket 120/2 entspricht Garnstärke # 60
- Eticket 200/2 entspricht Garnstärke # 75
- Eticket 300/2 entspricht Garnstärke # 100
Anwendung:
- für feinste Details und kleinste Beschriftungen bis zu 1,5 mm Schrift
- zum Befestigen von Pailetten (anstelle von kratzendem Nylonfaden)
Nadelstärke:
- DBxK5 Nm 60 – 65
- DB x 1 Nm 55 (Singer Nummern können abweichen)
4. Stitch distance break down
Stitch distance break down could look like this.
- Serafil fine ticket 60-stitch distance 3.0 to 2.5 = 1/10 mm not advised to go lower.
- Serafil fine ticket 75-stitch distance 2.5 to 2.0 = 1/10 mm not advised to go lower but in some cases up to 3.0.
- Serafil fine ticket 100 stitch distance 2.0 to 1.0 = 1/10 mm 1.0
this the limit but in some cases can be 3.0.
These stitch distances listed above are relative. For larger shapes, the full stitch distance can be applied. The smaller and narrower the shape, the less amount of stitches are needed.because there is not enough space for them.
5. Underlay Stitches
Underlay stitches are the stitches placed beneath the top stitches. The underlay serves two purposes: it anchors the stitches to the fabric to prevent shifting, and it stabilizes the top stitches to avoid distortion during embroidery. For optimal results, even the thinnest satin stitch under 1 mm should include at least a single row of running stitches. Tie-in stitches and walking stitches must be positioned with great care. Standard stitches are too large and may create knots.
When digitizing small, narrow satin columns, tie-in stitches are used to secure the bobbin thread. For letters or other small elements, it is recommended to begin with small manual stitches, similar to digitizing a short running line.
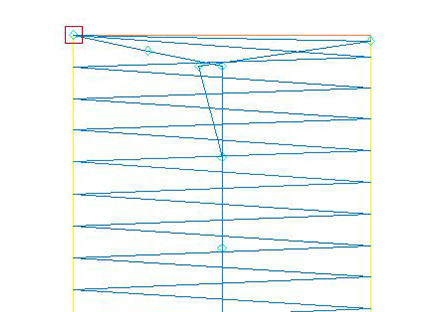
Example of a satin column and a center running-stitch underlay
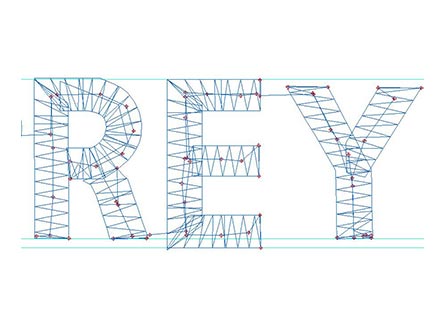
This type of underlay is also extremely important when working with very small lettering, as shown in the example of the letters R, E, and Y. These letters are 3 mm in height.
Example of digitizing data created with embroidery software.
When digitizing a small graphic, start in a place where the tie-in stitches have more space than you can use for the normal tie-in forms.
I try to avoid the lockstitch on very small segments. If not possible, you will only have a chance to place one or two stitches to tie the end.
Some embroiderers prefer to hand trim between letters instead of using the machine trimmers. This happens when the letters are so small that the machine has no chance to get up to speed before the letter is finished.
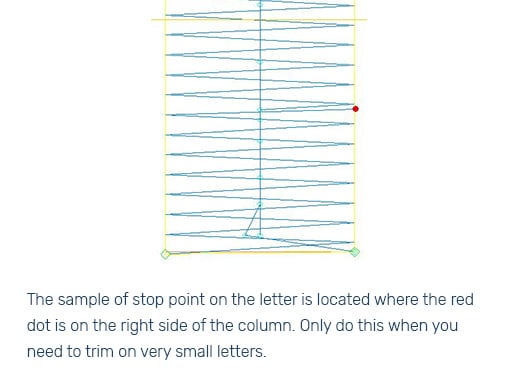
When trimming on the machine at the place where it is trimmed, the thread pulls down to the back of the embroidered fabric. In the case of very small letters, this can distort them, especially if you end at the base or top of a letter. To avoid this, make the tie and trim code a few stitches up on the satin bar.
The best is to trim them out by hand afterwards.
6. Small Designs and Lettering on Knitwear and Piqué
In most cases, knitwear is not the ideal base material for small logos or detailed designs. There are a few exceptions, but achieving good results can be challenging. One exception is a very compact design, where a thread weight of Ticket 75 may be suitable. Small lettering will, in most cases, sink into the fabric and become indistinguishable.
For textured surfaces, a water-soluble topping is required to prevent the stitches from sinking into the material.
7. Bobbin Threads
The thicker the bobbin thread, the more pronounced the stitching will appear. A heavier bobbin thread, such as Saba 120 or 150, can help hold a finer top thread on the fabric. This is acceptable when embroidering on thick materials or piqué knits.
For fine or lightweight fabrics, ISABOB 190 is the right choice. Thicker bobbin sizes are not recommended in these cases. The finer bobbin thread keeps the embroidery delicate and prevents it from becoming bulky.
8. A Must – The Right Needles, Needle Points, and Thread Tension
Finer thread weights require smaller needle sizes, typically #65 to #55. In most cases, an RG point works well for woven fabrics, while an FFG point is recommended for knitwear.
9. Thread Tension
Thread tension depends on how tightly you normally run your machine settings. In most cases, you will need to slightly loosen the top tension, but only minimally. Make small adjustments while the machine is stitching. With experience, you will learn how your machine responds to different tension levels.
10. Stabilizers
If you believe you have done everything correctly and the result is still not acceptable, the issue may lie with the stabilizer you are using.
It is generally better to embroider stretchable materials with a cut-away stabilizer, as it keeps the embroidery in place even after washing. For woven fabrics, use a tear-away stabilizer.
Problems can occur if you use multiple layers or very heavy stabilizers. In such cases, the embroidery becomes stiff and bulky. Thinner fabrics require a lighter stabilizer, but it should not perforate. If perforation occurs during stitching, fabric movement is likely—even if it is not visible to the eye.
Tip: Embroidery adhesive spray helps bond the fabric more securely to the stabilizer. This is especially important when working with small designs.
11. Machine Speed
Designs created with these finer thread weights are typically very small, so reducing the machine speed to around 700 stitches per minute helps prevent excessive needle vibration. Since these designs are usually small, the stitch time remains short.
12. Cleanup Function
Design optimization — also referred to as cleanup — is crucial!
Check whether the cleanup option on your machine is activated; in most cases, it is. You will need to adjust this setting or turn it off. If you do not, you will notice that the stitch count decreases when the design is loaded into the machine. This means stitches are being removed.
If the cleanup setting is at 0.5 mm, all stitches of that size or smaller will be deleted by the system. It is often said that very small stitches are not good for embroidery, but this does not apply when working with finer thread weights.
I enjoy the challenge of creating small embroidery designs after many years of working with the standard 40 thread weight. Using the correct thread and finer weights has made a significant difference.