Home | Installation | Basic | Lettering | Digitizing | Name Tags | Edit Mode | Automatic Computer Embroidery |
Basic
In the Basic chapter you learn the necessary basics for example open, create, and export a file, the different zoom function. You can find the quiz here.

Open, Export and Save
In this video, I'll guide you through the essential steps to create a new stitch file, open an existing one, export machine files, and change needle and background colors in your workspace.
Key Topics Covered:
- Creating a New Stitch File
- Enter Design Information
- Setting Needle Colors
- Changing Background Color
- Saving Your Stitch File
- Opening an Existing Stitch File:
- Exporting a Machine File:
- Differenz between Machine Files vs. Reference Files
By the end of this tutorial, you'll be proficient in creating, managing, and exporting stitch files in BasePac, as well as changing the needle color and background colors from your design.
 Workbook page 24-27
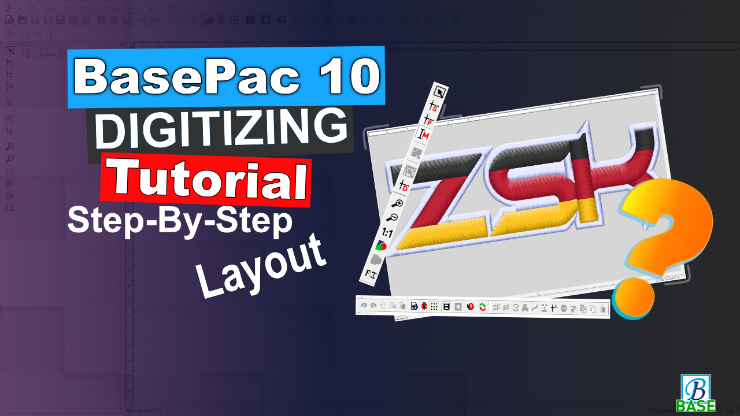
Layout
In this video, we will provide you with a detailed tour of the BasePac interface and an overview of its various functions. This foundational knowledge is crucial for understanding subsequent videos and minimizing miscommunication.
Key Interface Elements:
Main Menu:
- Located at the top area.
Taskbar:
- Positioned on the left side, featuring different modes for creating or editing embroidery designs
Toolbar:
- Located under the Main Menu.
Workspace:
- Middle-right position, customizable for individual preferences.
Status Line:
- down-right position.
- Displays functions accessible from the cursor’s current position, number of stitches, zoom factor, and current cursor position.
Stitch Display:
- Right side of the screen, showing all stitches with coordinates (X, Y), stitch lengths (D), and machine functions.
Film Display:
- Located right the Taskbar.
- Shows block selection and embroidery order.
This video is a must-watch for new BasePac users who want to familiarize themselves with the software's Layout and essential functions.
Workbook page 4-5; 9 (question:"What can be done in the module mode?)
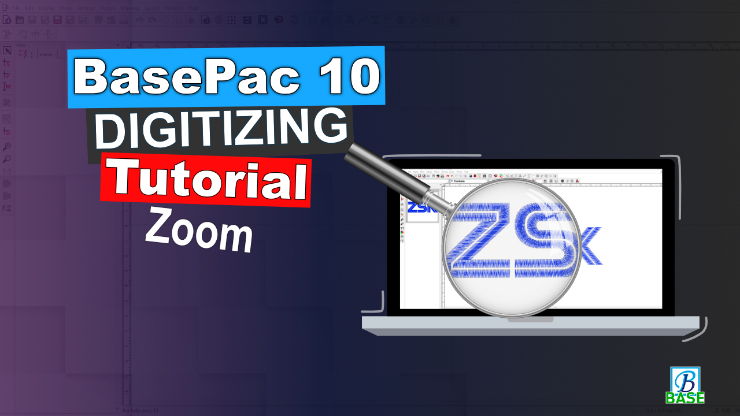
Zoom
First steps in BasePac made easy – start to understand the different zoom functions in BasePac 10 to jump right into an efficient workflow and to find your way around easily!
Key Topics Covered:
- Introduction to Zoom Functions
- Overview of various zoom options available in BasePac.
- How to display the current zoom factor in the status line.
- Zooming In and Out
- Zoom Options
- 1:1 Zoom: Switching to the original size of the embroidery.
- All Modules: Display the entire design on the screen to get a complete overview.
- Selected Modules: Zooming in on selected modules for detailed editing.
- Custom Zoom Factor
- Screen Calibration: Importance of screen calibration for accurate design representation.
- Setting Maximum Zoom Factor
- Adjusting the maximum zoom factor to avoid workspace size reduction.
By the end of this tutorial, you will have a comprehensive understanding of how to use the zoom functions and calibrate your screen in BasePac. These skills are essential for precise design work and will greatly enhance your embroidery projects.
Quiz
 Here you finde the quiz for this chapter.
Contact
You are ready with your exercise file, or you have any further questions? Contact us at software@zsk.de
Please note: Our team processes your requests from Monday to Friday, we will take care of your questions as fast as possible.
Also check our FAQ page, you might already find the answer to your question here.